

For most of Australia, the tyranny of distance is real. Outside the major population centres, mobile coverage is patchy at best and non-existent at worst. For years, the only options for remote connectivity were expensive satellite plans with high latency or making do with nothing.
Starlink changed that. Low Earth Orbit satellites delivering genuinely usable broadband — fast speeds, low latency, and no data caps on most plans — have transformed what is possible for caravanners, 4WDers, remote workers, farmers, and anyone spending time away from the city.
But with multiple hardware options and an expanding range of service plans, the question is no longer simply “should I get Starlink?” It is “Which Starlink setup is right for how I actually use it?” This guide walks through every current Australian plan, compares the Starlink Mini against the Standard dish head-to-head, and helps you figure out which combination gives you the best value for your situation.
And if you are new to Starlink entirely, there is a way to get your first 30 days of service completely free — more on that below.
Understanding the Hardware: Mini vs Standard Dish
Before comparing plans, it helps to understand the two main hardware options available in Australia.
Starlink Standard Dish (Gen 3)
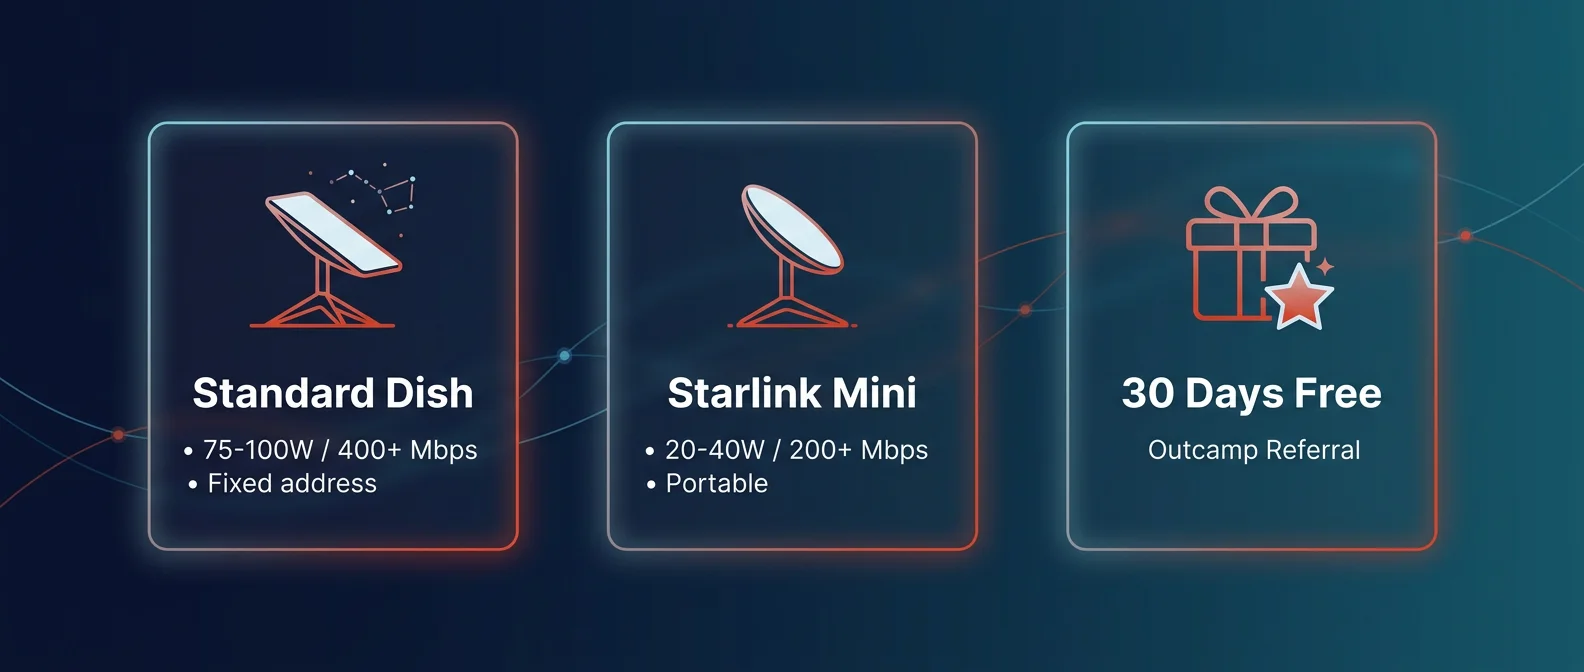
The Standard dish is the original Starlink hardware and remains the most capable option for fixed or semi-permanent setups. Key specs from Starlink’s official specifications:
- Dimensions: 575 x 511 mm — significantly larger than the Mini
- Weight: 2.9 kg (without mount)
- Power consumption: Average 75–100W
- Field of view: 110°
- Operating temperature: −30°C to 50°C
- Wind rated: Operational above 96 km/h
- Snow melt: Up to 40 mm/hour
- Environmental rating: IP67
- Orientation: Software-assisted manual orienting
The Standard dish requires the separate Router 3 (included in the kit) and a dedicated power cable. It is the right tool for caravans with a permanent mounting point, remote stations, off-grid cabins, and anyone who stays in one place for extended periods.
Starlink Mini
The Starlink Mini is purpose-built for portability. It is compact enough to fit in a backpack and includes a built-in Wi-Fi router, eliminating the need for a separate router box. Key specs:
- Dimensions: 298 x 222 mm — roughly the size of a laptop
- Weight: 1.1 kg including the integrated router
- Power consumption: 20–40W average
- Max download speed: 200+ Mbps
- DC power input: Native DC — no inverter required
- Built-in Wi-Fi router: Yes, integrated
- Environmental rating: IP67
The Mini’s native DC power input is one of its most underrated features for off-grid use. Running it directly from a 12V battery or portable power station via a DC to DC power cable bypasses an inverter entirely, which means lower power losses and longer run times from the same battery capacity.
Current Australian Starlink Plans (2026)
Starlink has expanded its plan range significantly. Here is every current option available to Australian customers as at mid-2026:
Residential Plans (Fixed Address)
| Plan | Monthly Cost | Speed Cap | Best For |
|---|---|---|---|
| Residential 100 Mbps | A$69/mo | 100 Mbps down | Fixed off-grid cabins, remote stations (select areas) |
| Residential 200 Mbps | A$99/mo | 200 Mbps down | Home offices, high-usage households (select areas) |
| Residential Max | A$139/mo | Maximum available | Top network priority, uncapped speeds |
Note: Residential plans are tied to a fixed service address. They can be taken on the road using Starlink’s Roam feature, but this typically increases the effective monthly cost. The 100 Mbps and 200 Mbps tiers are only available in select areas — availability depends on your address.
Roam Plans (Mobile Use)
| Plan | Monthly Cost | Data | Best For |
|---|---|---|---|
| Roam 100 GB | A$80/mo | 100 GB high-speed, then unlimited low-speed | Occasional travellers, weekenders |
| Roam Unlimited | A$195/mo | Unlimited high-speed | Full-time travellers, digital nomads, remote workers |
Roam plans work with both the Standard dish and the Starlink Mini. They allow use anywhere in Australia and international travel across 150+ countries and territories. Standby Mode lets you pause service in areas with no coverage and reactivate easily when you return to satellite range.
Head-to-Head: Starlink Mini vs Standard Dish
Power Consumption — The Off-Grid Dealbreaker
Power is the most important variable for anyone running off a battery system. This is where the Starlink Mini has a decisive advantage.
| Hardware | Average Draw | Hours on 100Ah @ 12V |
|---|---|---|
| Standard Dish | 75–100W | ~7–10 hours (to 50% depth) |
| Starlink Mini | 20–40W | ~18–30 hours (to 50% depth) |
On a basic dual-battery system without solar, the Mini can run overnight and into the next morning without putting the battery under significant stress. The Standard dish will drain a 100Ah AGM battery to concerning levels within a day of continuous use. For anyone relying primarily on battery power, this is not a minor difference — it is the difference between a working setup and a dead battery at camp.
Speed and Performance
In practice, both the Mini and the Standard dish deliver more than enough speed for the vast majority of off-grid use cases. Streaming 4K video, video calls, remote desktop access, large file transfers — all of these are well within reach on either platform.
- Standard dish (Residential Max): 400+ Mbps in optimal conditions, top network priority
- Starlink Mini: 200+ Mbps, slightly smaller antenna aperture means marginally more sensitivity to heavy rain and obstructions
For practical off-grid use, the Mini’s speed is more than sufficient. The gap only becomes relevant for high-demand professional applications such as large video uploads or multiple simultaneous high-bandwidth users.
Portability and Setup
The Standard dish requires a separate router, a power adaptor, and a mounting solution. Setting it up at camp takes a few minutes and involves more cable management.
The Mini folds flat, fits in a backpack, and has the router built in. Setup is genuinely two-step: plug it in and point it at the sky. For people who move camp frequently or want to set up quickly, this matters.
Mounting Solutions for Australian Conditions
How you mount your dish determines whether it works reliably in Australian conditions — corrugated roads, wind, dust, and unpredictable terrain. Getting the mount right is as important as the hardware choice itself.
Starlink Mini Mounts
- MagLock Pro Magnetic Mount: The go-to solution for work utes, farm vehicles, and 4WDs. Attaches magnetically to any steel roof — no drilling, no permanent modifications. Removable in seconds. Rated for highway speeds on corrugated dirt roads.
- Roof Rack Mount: For vehicles with existing roof racks. Provides a secure permanent attachment point above the rack height, maximising sky view.
- Tripod Mount: Ideal for campsite use. Stable on uneven ground, quick to set up, keeps the dish off the dirt.
- Flat Mount: Low-profile permanent mount for canopy tops and caravan roofs. Sits almost flush to the surface.
Standard Dish Mounts
- Pole Mount: Attaches the Standard dish to a caravan ladder, dedicated pole, or existing structure. Gets the dish above surrounding obstructions for maximum sky view.
Power Cable Options for the Starlink Mini
Running the Mini efficiently off-grid means bypassing the AC adaptor and powering it directly from your 12V system. Outcamp stocks several cable options depending on your setup:
- Dual DC to DC Power Cable (5m): Powers the Mini directly from a 12V source. Eliminates inverter losses.
- USB-C to DC Power Cable (3m): Compact option for portable power stations with USB-C output.
- Anderson Plug to DC Cable (5m): Connects directly to your Anderson plug outlet — ideal for vehicles with an existing auxiliary battery distribution setup.
Protecting Your Setup in the Australian Environment
Dust, salt air, corrugated road vibration, and UV are hard on electronics. Starlink hardware is rated IP67 and built for outdoor conditions, but storing it properly between uses extends its lifespan significantly.
The Starlink Carry Bag is padded and weather-resistant, designed to protect the dish during transport on rough tracks. After eight hours on the Oodnadatta or the Gibb, your dish arrives at camp clean and ready to deploy.
Which Setup Is Right for You?
Scenario A — The Weekend 4WD Explorer
Recommended: Starlink Mini + Roam 100 GB (A$80/mo) + MagLock Pro magnetic mount
The Mini’s low power draw, compact size, and magnetic mount make it the practical choice for people who move camp regularly and run a standard dual-battery system. 100 GB of high-speed data covers a long weekend of mapping, weather checking, social media, and video calls without issue.
Scenario B — The Full-Time Grey Nomad
Recommended: Starlink Mini or Standard dish + Roam Unlimited (A$195/mo)
Full-timers need unlimited data. The hardware choice depends on your power setup — if you have a robust lithium bank with solar, the Standard dish gives you slightly better performance in adverse weather. If you move frequently and power is at a premium, the Mini is the better daily driver.
Scenario C — The Remote Worker
Recommended: Starlink Mini + Roam Unlimited + DC power cable
For anyone whose income depends on reliable connectivity, the Mini’s DC power input eliminates inverter failure as a point of risk. Running your office directly from a quality lithium power station via a DC cable is a more reliable chain than AC adaptor + inverter.
Scenario D — The Remote Station or Off-Grid Cabin
Recommended: Standard dish + Residential 100 Mbps or 200 Mbps plan (A$69–A$99/mo)
For fixed installations where the dish stays in one place, the Residential plans offer the best value. The Standard dish’s larger antenna and snow-melt capability make it the more capable fixed installation, and the lower monthly cost of the Residential tier adds up over a year.
Get 30 Days of Starlink Free — Outcamp Referral Program
If you are signing up to Starlink for the first time, Outcamp has a referral code that gives new customers 30 days of free Starlink service. This applies to new residential activations and is one of the best ways to try the service without committing to a full month’s cost upfront.
Claim 30 Days Free — Outcamp Referral ›
Full details, including eligibility, how the referral works, and a plan comparison, are on the Starlink Referral page. The referral code is applied at checkout when you sign up through the link — no manual entry required.
Frequently Asked Questions
Can I use a Residential plan while travelling?
Yes, but you need to enable Starlink’s Roam feature, which adds to the monthly cost. If you travel frequently, it is usually better value to start on a Roam plan. If you have a fixed base and only travel occasionally, the Residential plan with Roam enabled when needed may work out cheaper overall.
Does the Starlink Mini work while the vehicle is moving?
The Mini supports in-motion use on Roam plans. Performance while driving varies depending on speed and sky view, but it works for passengers needing connectivity on the road. For in-motion work, a roof-mounted setup via the MagLock Pro gives the dish the best chance of maintaining lock.
How much battery do I need to run Starlink overnight?
For the Starlink Mini at 30W average draw, running for 10 hours consumes approximately 300Wh. A 100Ah lithium battery (1,280Wh usable) can handle this comfortably with plenty of reserve. For the Standard dish at 90W average, 10 hours draws 900Wh — requiring a larger battery bank for overnight use without solar input.
Can I pause my Starlink plan?
Yes. Roam plans include Standby Mode, which lets you pause service for a small monthly fee and reactivate when needed. This is useful for Australians who travel seasonally and do not need connectivity year-round.
Is the Outcamp MagLock Pro safe at highway speeds?
Yes. The MagLock Pro uses an array of high-strength neodymium magnets and is designed for use on Australian dirt roads and highways. It is used across mining, agriculture, and 4WD applications where vibration and corrugation are part of daily operation.
The Bottom Line
For most off-grid Australians, the Starlink Mini on a Roam plan is the right starting point. Its power efficiency, compact size, integrated router, and native DC input make it the most practical choice for the way most Australians actually use satellite internet — on the move, with limited power, in remote locations.
The Standard dish earns its place in fixed installations where monthly cost matters more than portability, and where a larger power system makes the higher draw manageable.
Either way, getting the mounting and power setup right is what separates a reliable system from a frustrating one. Browse the full Outcamp range of Starlink accessories — mounts, cables, carry bags, and power solutions for every Starlink generation.
And if you are signing up for the first time, do not forget the Outcamp referral link for 30 days free.


Jennifer Wood
March 20, 2026
I would like to connect to starlinks 69 dollar residential plan