Your boat is the last place left where nobody can reach you. That used to be part of the appeal. It stops being charming the first time you want a weather update with a front coming through and 20 nautical miles between you and the ramp.
A Starlink Mini on the rail solves that. It does not forgive a lazy install though. Salt, vibration and a deck that never stops moving are a harsher environment than any ute roof, and most failures trace back to the mount or the cable rather than the dish itself.
The Short Version
Clamp the dish to a rigid rail with a proper rail mount, run the cable with a drip loop down to a fused 12V supply, keep stainless away from bare alloy, and rinse the whole setup in fresh water after every trip. Then check that your service plan covers offshore use before you rely on it.
Why a Boat Is Harder on a Starlink Mini Than a 4WD
A vehicle install fails slowly. A marine install fails the moment you stop paying attention, and usually in the two places hardest to reach — the fastener you cannot see and the cable entry you sealed on a hot afternoon.
The failure modes are predictable, and there are three of them.
Salt spray and dissimilar metals
Salt does not attack a single material so much as it turns two materials into a battery. Bolt stainless hardware straight to bare aluminium in a salt environment and you have built a galvanic cell, and the alloy loses.
Use marine-grade stainless fasteners, and put a barrier between dissimilar metals — a nylon washer or a bed of sealant is enough. Then rinse the mount in fresh water after each trip, which does more for longevity than any coating.
Vibration, shock and the rail you chose
An outboard transmits constant low-level vibration through the hull, and a boat at planing speed adds shock loading on every chop. That is why the mount matters more than the dish here.
Aim for a rigid rail or a proper arch. A flimsy bimini frame or a thin rocket-launcher tube will flex, the clamp will work loose, and the dish will spend the trip shaking.
Water paths and cable entry
Water does not need a hole to get in. It will run along a cable, and a cable entering a cabin on a shallow downhill run is a slow leak with a schedule.
Leave a drip loop below the entry point so water sheds before it reaches the fitting, and seal the penetration properly. Keep the connector dry when the dish comes off, because a damp plug is where intermittent faults live.
Mounting a Starlink Mini on a Boat
Most boats have somewhere sensible. The trick is matching the mount to the structure you already have rather than inventing a bracket.
Rail clamps are the simplest answer for most trailer boats, tinnies and cruisers, because almost every one of them has a rail or a rocket launcher already bolted to something solid.
Rail clamps and rail diameter
Boat rails are not one size. Measure the tube before you order anything — most clamp-style marine mounts are built for rails in the 25 to 32 mm range, and a clamp that is slightly too big will never tighten properly.
A Starlink Mini Marine Rail Mount bolts flat to the rail and holds the dish low and out of the wind. If your mounting point is a bull bar, a bow rail or an angled frame rather than a straight tube, a Starlink Mini BullBar/Railing Mount gives you more adjustment without shimming.
Which way it needs to look
In Australia the dish needs a clear view to the north, and that is where boats get awkward. A moored boat swings, a berth faces a certain way, and a rail that looks perfect at the ramp can sit pointed straight at a shed roof once you are tied up.
Work out where north is from your usual mooring or your favourite anchorage, not from your driveway. If you range widely, choose a mount you can reposition by hand in seconds.
Where not to mount it
Anything that puts metal in the dish's line of sight north will cost you performance. That rules out spots directly behind a radar dome, alongside the aerials or under a bimini top that stays up.
Also avoid anywhere you walk, sit or cast. A dish is a hard, flat, reflective object at head height, and the ideal spot is the one you never touch.
Powering a Starlink Mini From the Boat's 12V
This is where the Mini earns its place on a boat. It runs natively on 12V DC, so it can come straight off the boat's system without an inverter, and published figures put it at roughly 25 to 40 W depending on load. That is a fraction of what the larger dishes draw.
The trade-off is that a boat's 12V system is rarely as clean as a vehicle's, particularly when the outboard is charging and the fridge cuts in.
Native 12V or a step-up converter
Running the Mini direct from a good 12V supply works, and plenty of boats do it. Some installers still prefer feeding it from a regulated step-up supply in the 24 to 30V range for more stable long-term behaviour, especially where cable runs are long.
Either way, use a switched circuit so the dish is not drawing on the battery while the boat sits on the trailer for a fortnight. A Starlink Mini 12V to 30V Power Supply (Anderson Plug) does that in one part, and its Anderson plug lets you unplug the whole install for storage.
Working out what it costs you in amp hours
Do the arithmetic before you commit. Watts divided by volts gives amps, and amps multiplied by hours gives amp hours out of your battery. Take the dish at 30 W on a 12V nominal system and that is about 2.5 A, so a six-hour day costs roughly 15 Ah.
Treat that as an estimate and check the current figure for your own dish and firmware. Then add it to everything else running and compare it against your usable battery capacity and charging rate.
Fusing, connectors and a removable setup
Fuse at the source, not at the dish. Put the fuse close to the battery or bus so the whole cable run is protected.
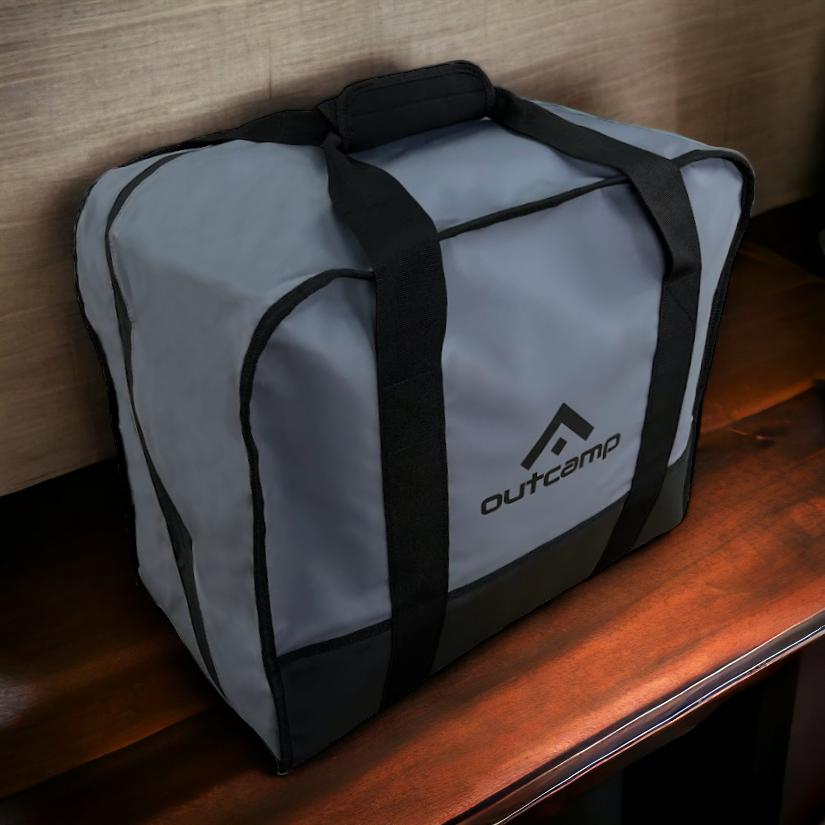
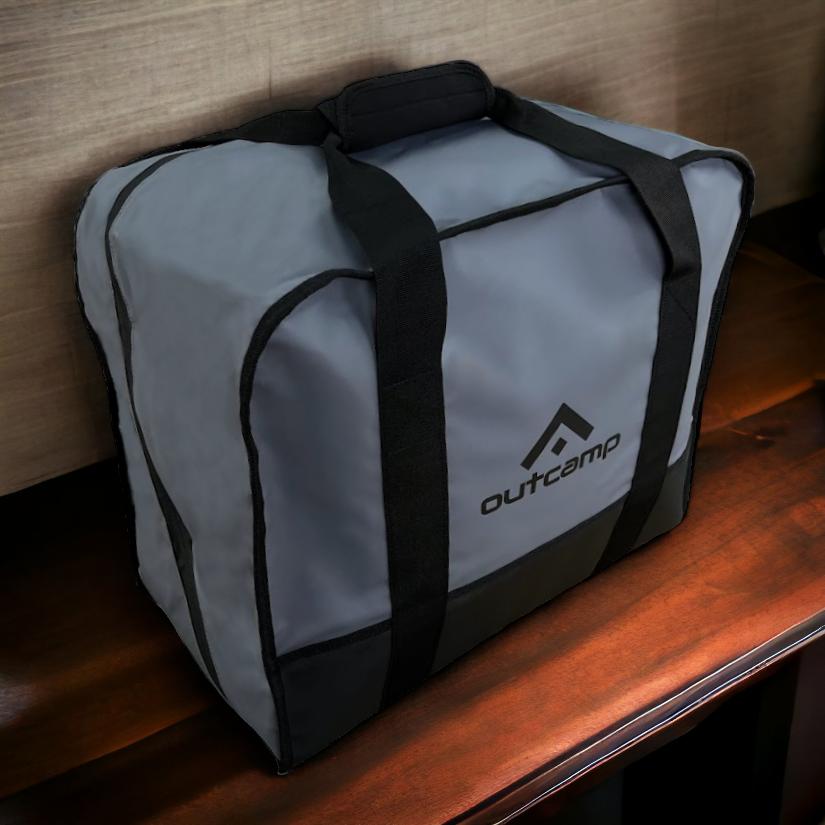
Anderson plugs make the install removable, which matters more on a boat than a vehicle. Being able to unplug the dish, take it home, and store it in a Starlink Mini Carry Bag means it is not sitting in a wet boat hull growing corrosion between trips.
Real-World Tips
- Measure the rail before you order. A clamp sized for the wrong tube will never sit properly.
- Check the fasteners after the first trip, then each season. Vibration loosens things slowly and then all at once.
- Keep the dish out of the sun when it is off the boat. Long-term UV and heat are harder on plastics than salt is.
- Test the whole setup at the ramp before a big day. Ten minutes at the pontoon beats finding a fault 15 nautical miles offshore.
- Confirm your plan covers offshore and in-motion use. Service terms change, so check the current terms rather than an old forum post.
Over to You
If you already run a dish on the water, the useful detail is always in the mount. Tell us in the comments where you put yours and what you would do differently — that is the sort of thing that saves the next person a season of fiddling.