The Starlink Gen 3 Standard is SpaceX's flagship consumer satellite dish for fixed and semi-permanent installations. While the Starlink Mini has captured attention for its portability, the Gen 3 Standard remains the go-to choice for users who need maximum performance, broader WiFi coverage, and the best possible connection quality for demanding applications. If you are setting up a permanent installation on a caravan, motorhome, large vessel, or remote property, the Gen 3 Standard is worth serious consideration.
This guide covers everything you need to know about the Starlink Gen 3 Standard — specifications, setup process, mounting options, power requirements, and the full range of Outcamp accessories available to get the most out of the hardware in Australian conditions.
Starlink Gen 3 Standard Specifications
The Gen 3 Standard represents SpaceX's third generation of consumer satellite hardware, incorporating improvements in antenna design, processing power, and WiFi capability over the earlier Gen 1 and Gen 2 models. It is a significant upgrade from the motorised Gen 2 dish, using fully electronic beam steering with no moving parts.
Understanding the specifications helps you plan your installation, size your power system, and choose the right mounting and accessory setup for your needs.
Physical Dimensions and Build
The Gen 3 Standard dish measures approximately 594 x 383 x 40mm — roughly the size of a large laptop or a small flat-screen television. It weighs approximately 2.8 kg, making it noticeably heavier than the 1.16 kg Mini but still light enough for a single person to handle easily. The dish is a flat phased-array design with no moving parts, using electronic beam steering to track satellites across the sky.
The build quality is robust, with the same IP67 rating as the Mini — fully dust-tight and rated for temporary submersion in water. The white polymer shell handles UV exposure, temperature extremes, and the general abuse of outdoor installation. The operating temperature range of -30°C to 50°C covers all Australian conditions.
Unlike the Mini, the Gen 3 Standard comes with a separate WiFi router unit that connects to the dish via a proprietary cable. The router is a compact device that sits inside your vehicle, caravan, or home — it is not weatherproof and needs a protected location. The dish cable is detachable, which simplifies installation and replacement compared to the Mini's hardwired cable.
Network Performance
The Gen 3 Standard delivers download speeds of 50-220 Mbps and upload speeds of 10-20 Mbps on standard plans, with latency of 25-60 ms. These speeds are broadly similar to the Mini's performance, with the Gen 3 Standard offering a higher ceiling under optimal conditions due to its larger antenna aperture and more powerful processing hardware.
The WiFi 6 (802.11ax) router included with the Gen 3 Standard is a significant upgrade over the Mini's built-in WiFi 5. WiFi 6 provides faster wireless speeds, better efficiency with multiple connected devices, and improved performance in congested RF environments. Coverage extends to approximately 280 square metres — more than double the Mini's 120 square metre coverage area.
The router includes dual ethernet ports for wired connections, eliminating the need for a separate ethernet adapter. This is a meaningful advantage for users who want to connect a wired network switch, a third-party router, a security camera, or other ethernet devices without additional hardware.
Field of View and Satellite Tracking
The Gen 3 Standard requires the same 110-degree field of view as the Mini for optimal performance. The electronic beam steering tracks multiple satellites simultaneously, maintaining connectivity as satellites move across the sky. The larger antenna aperture provides slightly better signal reception in marginal conditions — more trees, more obstructions, lower satellite elevation — compared to the Mini.
In practice, both dishes need the same clear sky conditions for best performance. The Gen 3 Standard's advantage in marginal conditions is real but modest — it is not a substitute for good dish placement. The Starlink app's obstruction checker works identically with both dishes and should be used at every installation location.
The dish supports in-motion use on compatible plans, though performance while moving is reduced compared to stationary use. For in-motion applications on vehicles and boats, secure mounting with a clear sky view is essential.
Power Requirements and Off-Grid Setup
The Gen 3 Standard draws significantly more power than the Mini, which is the primary consideration for off-grid installations. Planning your battery bank, solar array, and wiring around the Gen 3's higher power consumption is essential for reliable off-grid operation.
For installations with mains power or generator access, the power consumption is a non-issue — the included power supply handles everything. For mobile and off-grid setups, the numbers below will drive your power system design.
Power Consumption
The Gen 3 Standard dish draws 60-100W during normal operation, with the WiFi router adding another 12-25W. Total system draw ranges from approximately 75W at idle to 125W under heavy load or in cold conditions with the heater active. Average consumption for planning purposes is approximately 80-90W.
At 80W average draw, a 200Ah 12V lithium battery bank provides approximately 30 hours of continuous operation — roughly three days at 10 hours per day. This is adequate for most touring setups, but significantly less than the 40+ hours the Mini achieves from the same battery.
Solar charging requirements are proportionally higher. A 400W rooftop solar array generates approximately 1,600-2,000 watt-hours per day in good Australian conditions, which comfortably covers the Gen 3 Standard's daily consumption of 800-900 watt-hours (at 10 hours of use) while still having surplus energy for other loads. A 200W solar system covers the Starlink but leaves little surplus for other accessories.
12V Power Supplies for Mobile Use
Outcamp offers dedicated 12V power supplies for the Gen 3 Standard that handle the higher voltage and current requirements. The Outcamp 12V to 57V Power Supply with Anderson Plug connects to any standard Anderson outlet and boosts the voltage to the Gen 3's optimal operating range. The integrated DC-DC converter handles the full power draw of the dish and router from a standard 12V auxiliary battery.
For cigarette lighter connections, the Outcamp 12V to 56V Power Supply with Cigarette Lighter Plug provides the same voltage conversion for quick, no-installation connections. This is suitable for occasional use but a dedicated Anderson plug or hardwired connection is recommended for regular operation due to the higher sustained power draw.
The higher power draw of the Gen 3 Standard means cable gauge is even more important than with the Mini. Use at least 14AWG cable for any run over 2 metres, and consider 12AWG for longer runs or permanent installations. Voltage drop at higher current draws on thin cables can cause the dish to brown out or fail to start.
Mounting the Gen 3 Standard
The Gen 3 Standard's larger size and heavier weight require more substantial mounting hardware than the Mini. Magnetic mounts designed for the Mini will not reliably hold the heavier Gen 3 Standard, and lightweight tripods may not provide adequate stability. Purpose-built mounts designed for the Gen 3's specific dimensions and weight are essential.
Outcamp's Gen 3 mounting range is designed to handle the dish's weight with adequate safety margin across all conditions — highway speeds, corrugated roads, marine motion, and high winds.
Roof Rack Mount
The Outcamp Roof Rack Mount for Starlink Gen 3 is a low-profile bracket that bolts into the T-slot channels of Rhino Rack, Yakima, and other major roof rack systems. The mount positions the dish close to the rack surface for minimal wind resistance and a clean appearance. It is Australian made from corrosion-resistant materials.
The low-profile design is particularly important for the Gen 3 Standard because the larger dish creates more wind resistance than the Mini. Keeping it close to the rack surface reduces lift and drag forces at highway speeds. Pair it with the Gen 3 Dish Protector for complete driving protection.
Installation is straightforward — slide the mount into the rack's T-slot, position it, and tighten the hand knobs. No drilling required, and the mount can be repositioned along the rack as needed.
Flat Mount for Caravan and Surface Installation
The Outcamp Flat Mount for Starlink Gen 3 bolts permanently to any flat surface — caravan roofs, canopy tops, motorhome roofs, and building surfaces. This is the most secure mounting option for permanent installations, creating a rigid connection that handles any conditions.
Flat mounting requires drilling holes and proper sealing, but the result is a professional, low-profile installation that does not protrude significantly above the mounting surface. For caravans, this keeps the overall height minimal and reduces the risk of snagging on overhanging branches and height barriers.
The flat mount is also the preferred option for roof-mounted installations on boats and marine vessels, where the secure bolt-on connection handles wave motion and vibration without any loosening over time.
Magnetic Roof Mount
The Outcamp Magnetic Roof Mount for Starlink Gen 3 uses high-strength neodymium magnets rated to hold the heavier Gen 3 dish securely on steel vehicle roofs. The magnetic design allows tool-free installation and removal — place it on the roof, power up, and you are online.
Due to the Gen 3's heavier weight, the magnetic mount uses more and stronger magnets than the Mini equivalents. It is designed and tested for highway speeds and corrugated roads, but users should verify that their specific vehicle has a steel (not aluminium) roof panel in the mounting area.
For users who want the convenience of quick-deploy mounting without permanent modification, the magnetic mount is the best option for the Gen 3 Standard.
Bull Bar, Pole, and Marine Mounts
Outcamp's Gen 3 mounting range also includes the Bull Bar Mount for front-of-vehicle installation, the Pole Mount for camping and fixed installations, the Roof Mount Kit for home and building installations, and the Marine Flat Rail Mount for boat railings.
Each mount is designed specifically for the Gen 3 Standard's dimensions and weight, using materials appropriate for the intended environment — stainless steel for marine, powder-coated alloy for vehicle, and UV-resistant polymers for outdoor installations.
Supporting accessories include the WiFi Router Cradle for clean wall-mounting of the separate router unit, the Power Supply Cradle for mounting the AC power supply neatly, and the Cable Plug Protectors for keeping connectors clean during storage and transport.
Setup and Installation Process
Setting up the Gen 3 Standard follows the same basic process as the Mini — activate your plan, position the dish, connect power, and configure WiFi. The additional step is connecting the separate router to the dish via the included cable and positioning it in a suitable location.
The Starlink app guides you through the entire process and works identically for both the Mini and Gen 3 Standard.
Initial Setup
Download the Starlink app, create or sign in to your account, and activate your service plan. Scan the QR code on the Gen 3 Standard hardware to link it to your account. This step requires a data connection (mobile or existing WiFi) and should ideally be done before heading to a location without phone service.
Connect the dish cable to the router, connect the router to power, and place the dish in a location with clear sky view. The dish boots automatically when power is supplied and begins searching for satellites. Initial setup typically takes 2-10 minutes as the dish acquires satellites and downloads its configuration.
The separate router can be positioned inside a vehicle, caravan, or building — anywhere that is protected from weather and has adequate ventilation. The router does not need sky view; only the dish does. Run the dish cable from the router to the dish through a window, door seal, or dedicated cable passthrough.
Ethernet and Network Configuration
The Gen 3 Standard router includes two ethernet ports, providing wired connectivity for devices that benefit from a direct connection — desktop computers, gaming consoles, network switches, and third-party routers. No additional ethernet adapter is required, unlike the Mini.
For advanced networking setups, connect your own router to one of the ethernet ports and disable the Starlink router's WiFi through the app. This gives you full control over your network configuration, including custom SSID names, QoS settings, VLAN configuration, and VPN termination on your own hardware.
The Gen 3 router supports Starlink mesh networking, so you can add additional Starlink mesh nodes (including the Starlink Router Mini) to extend coverage across larger areas. This is particularly useful for large caravans, motorhomes, and vessels where a single router position does not provide adequate coverage.
Protection and Accessories
The Gen 3 Standard needs the same level of protection as the Mini during transport and use. The larger dish face has more surface area exposed to road debris, branches, hail, and UV damage, making protective accessories even more important.
Outcamp's Gen 3 protection range mirrors the Mini range but is sized specifically for the larger dish.
Dish Protection
The Outcamp Dish Protector for Starlink Gen 3 is a rigid polycarbonate shield designed to fit over the dish when it is mounted on a roof rack. It protects against road stones, gravel spray, branch strikes, and hail during driving. Remove it at camp to expose the dish for operation.
For cable connections, the Gen 3 Cable Plug Protectors keep the proprietary connectors clean and dry during storage and transport. The detachable cable on the Gen 3 Standard means the connectors see more handling than the Mini's hardwired cable, making plug protection more important for long-term connector reliability.
Ethernet connectivity accessories include the Outcamp Waterproof Ethernet Cables for outdoor cable runs and the Waterproof RJ45 Ethernet Port for sealed bulkhead connections through caravan walls and boat decks.
Is the Gen 3 Standard Right for You?
The Starlink Gen 3 Standard is the right choice when you need the best possible performance, have adequate power infrastructure, and plan a permanent or semi-permanent installation. Its WiFi 6 router, larger antenna, dual ethernet ports, and higher peak speeds make it the superior option for large caravans, motorhomes, permanent off-grid properties, and commercial marine installations.
For users who prioritise portability, low power consumption, and quick deploy capability, the Starlink Mini is the better fit. The comparison article in this series covers the detailed trade-offs between the two dishes.
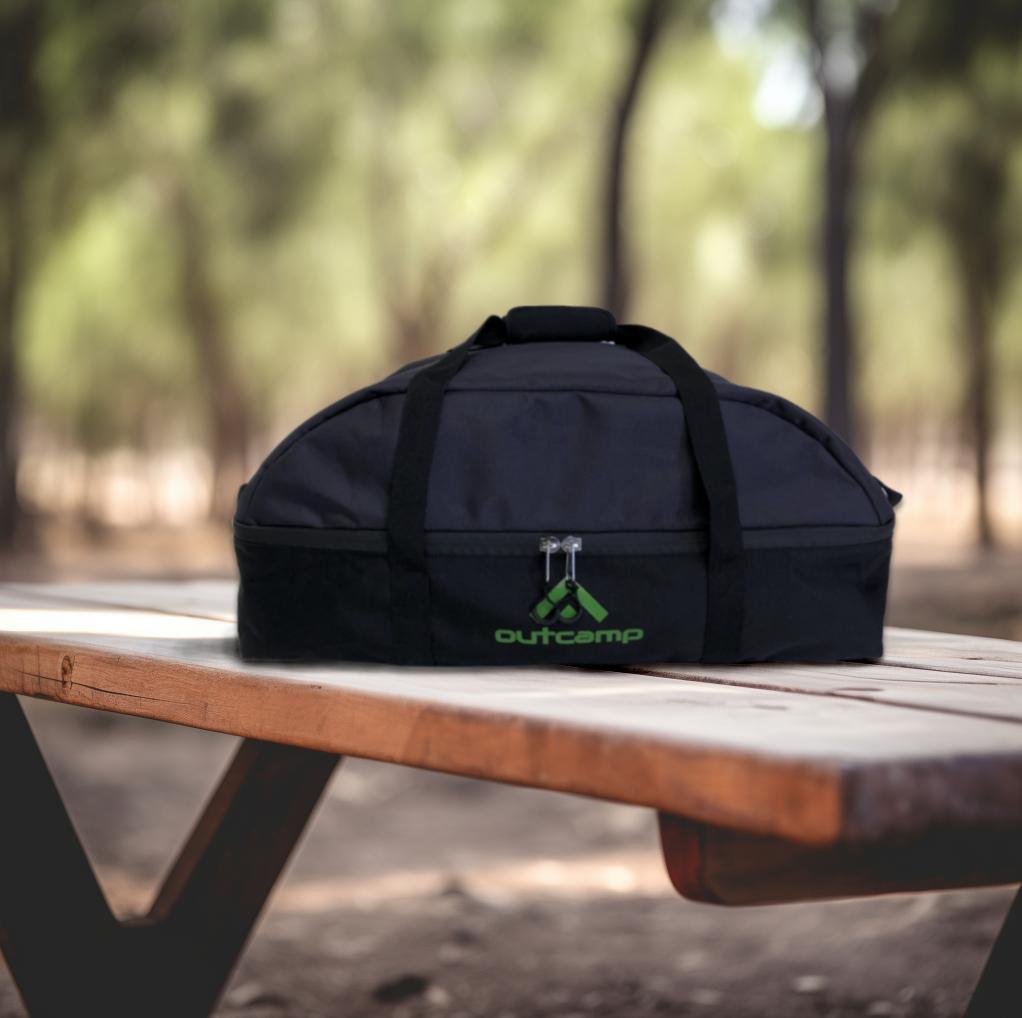
Whichever Starlink you run, Outcamp has the complete range of Australian-made accessories to mount, power, and protect it. Browse the Starlink Gen 3 collection or the Starlink Mini collection to find exactly what you need for your setup.